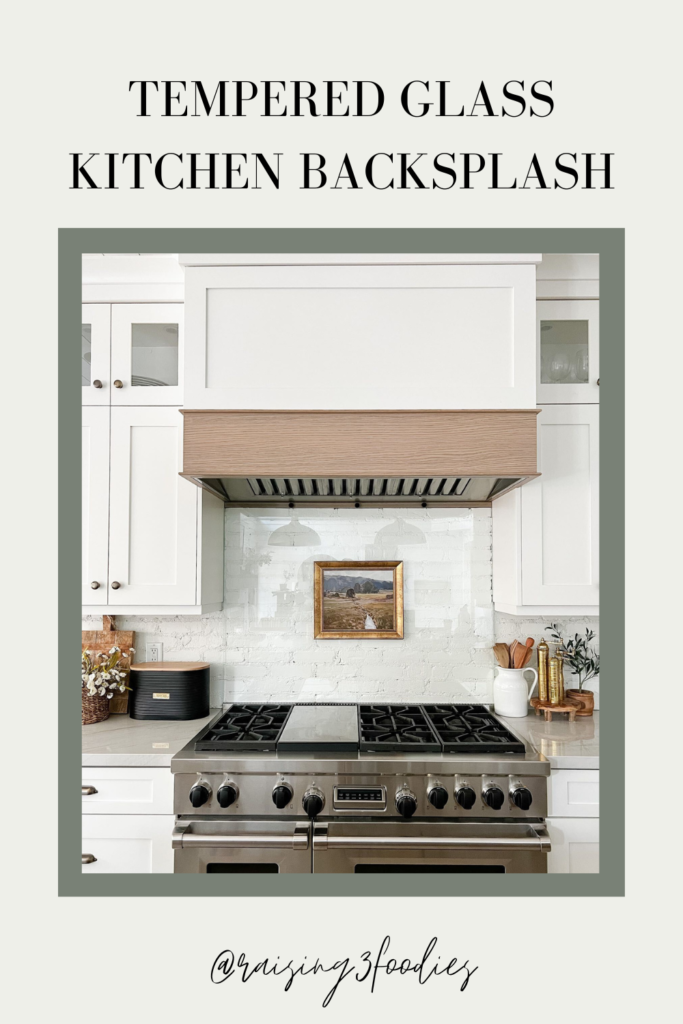
While it might seem fairly simple to implement tempered glass or even the perfect DIY, trust me when I say there’s more than meets the eye! So, follow along as I break down the do’s and don’ts of tempered glass kitchen backsplash, so you can enjoy a kitchen masterpiece vs. staring at a backsplash that’s a blue yikes!
Shop This Post
Tempered Glass Backsplash: My Why
The goal of any dream kitchen design is to be both aesthetically pleasing and functional, because who wants a swoon-worthy kitchen that’s impossible to use. With the kitchen being the heart and hub of every home, this high-traffic area must be able to withstand regular wear and tear while also offering easy cleanup solutions. Whether it’s splattering pots, flying oil, or heavy-handed seasoning, your kitchen backsplash is a hot spot for caked-on messes and takes a regular beating!
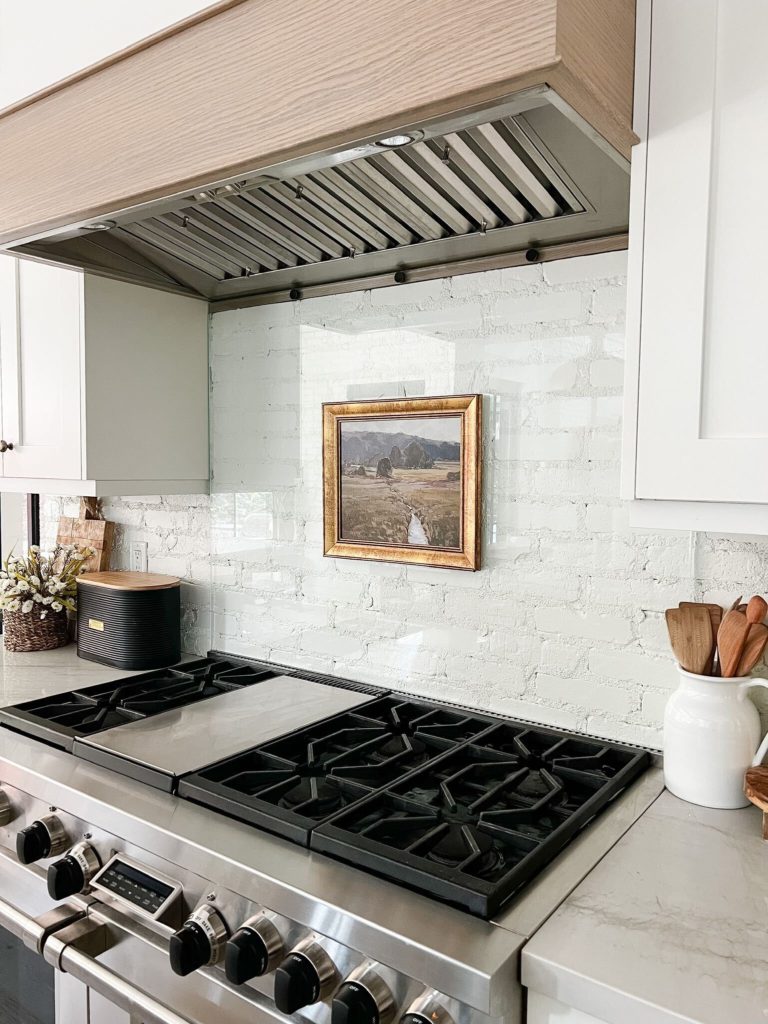
Fun fact…our kitchen backsplash is actually real painted brick, and we quickly discovered just how challenging it was to keep it clean! The porous and rough texture of the brick made it incredibly hard to wipe down. We desperately needed something that made cleaning up a breeze while also keeping the beautiful texture of the brick exposed. Enter tempered glass backsplash! From its durability and appearance to its ease of maintenance and versatility, it was the perfect solution!
Leave it to the Professionals
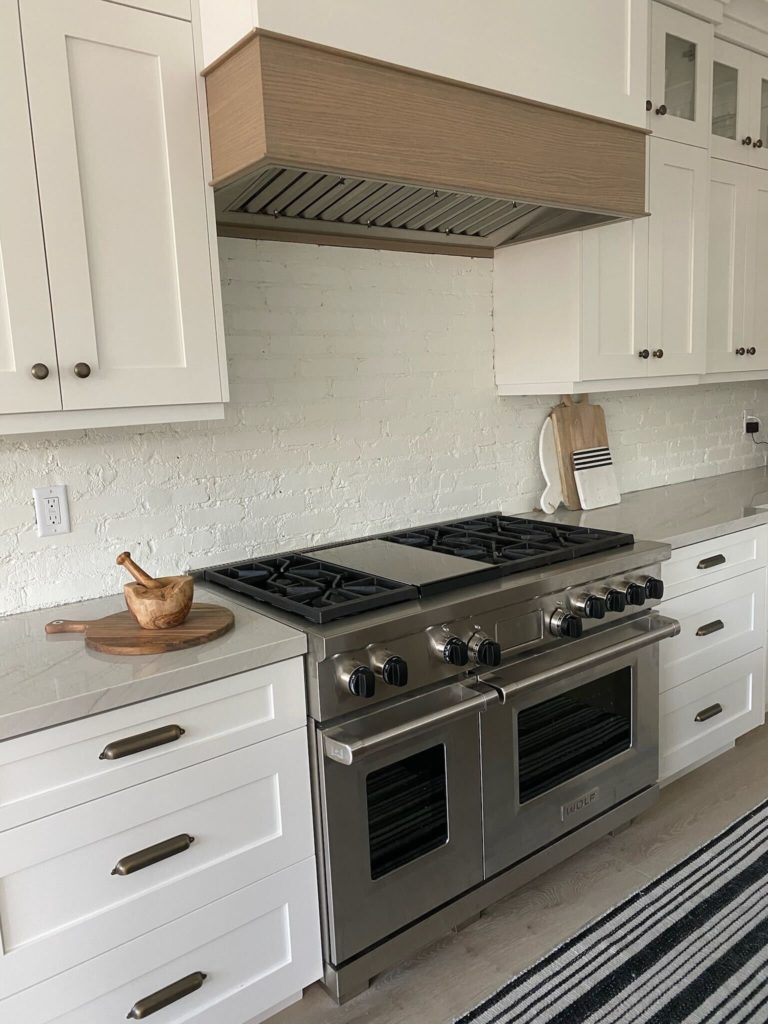
As much as I hate to crush your DIY dreams, this is one project you’ll definitely want to leave to the skilled professionals! The tempered glass might look like an easy weekend project but in reality, it requires special precision glass cutting tools. Even the installation can be tricky with three removable bolts along the top of the glass sheet. With that in mind, we opted to use the same glass company that made our custom shower door enclosures.
So yes, you’ll probably need to pay for a skilled contractor, but that may not be a deal-breaker, considering the benefits of tempered glass in comparison to other backsplash materials.
Avoiding a Blue Yikes
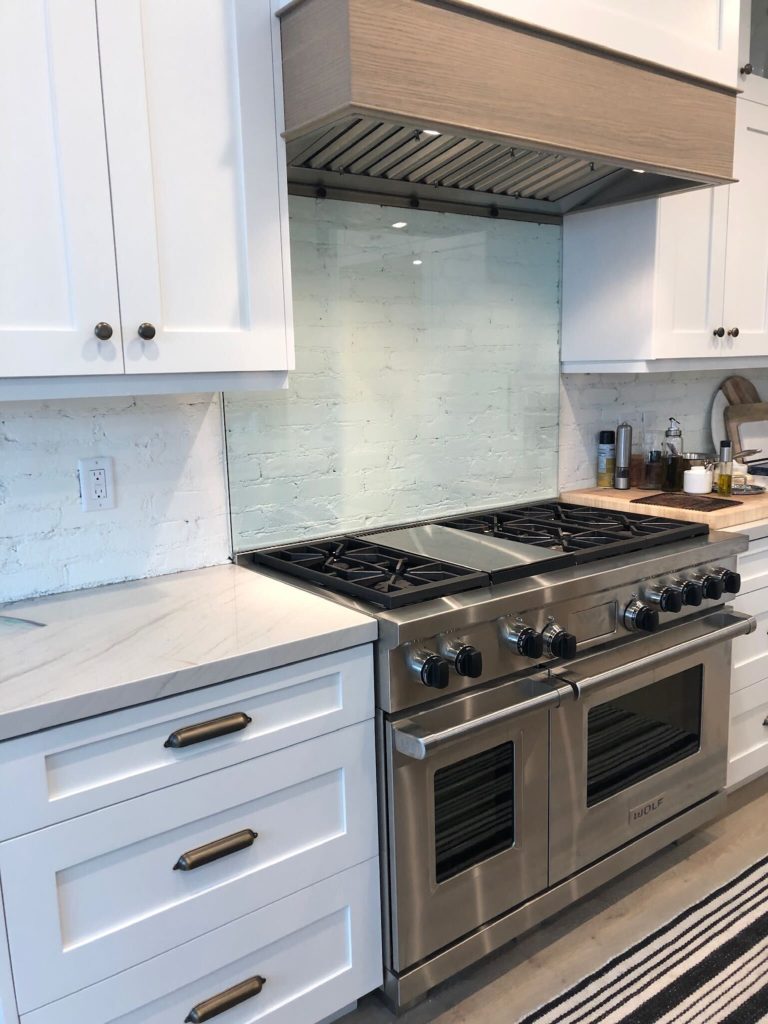
No home project is complete without…shall we say…ample learning opportunities! The first attempt at installing our custom sheet of tempered glass backsplash was an epic fail! However, lesson learned and now I’m sharing my expertise with you, so you don’t make the same mistake I did!
While the glass appeared clear pre-install, when placed against the painted white brick, it immediately took on an unwanted blue hue. Think car windshield…a total blue yikes! Needless to say, the custom sheet had to be completely re-made.
To avoid this problem, make sure to ask for a low-iron concentration glass, as the blue tint is naturally- occurring in tempered glass. Who knew!! This will ensure your glass is crystal clear, saving you both time and money!
Shop This Post
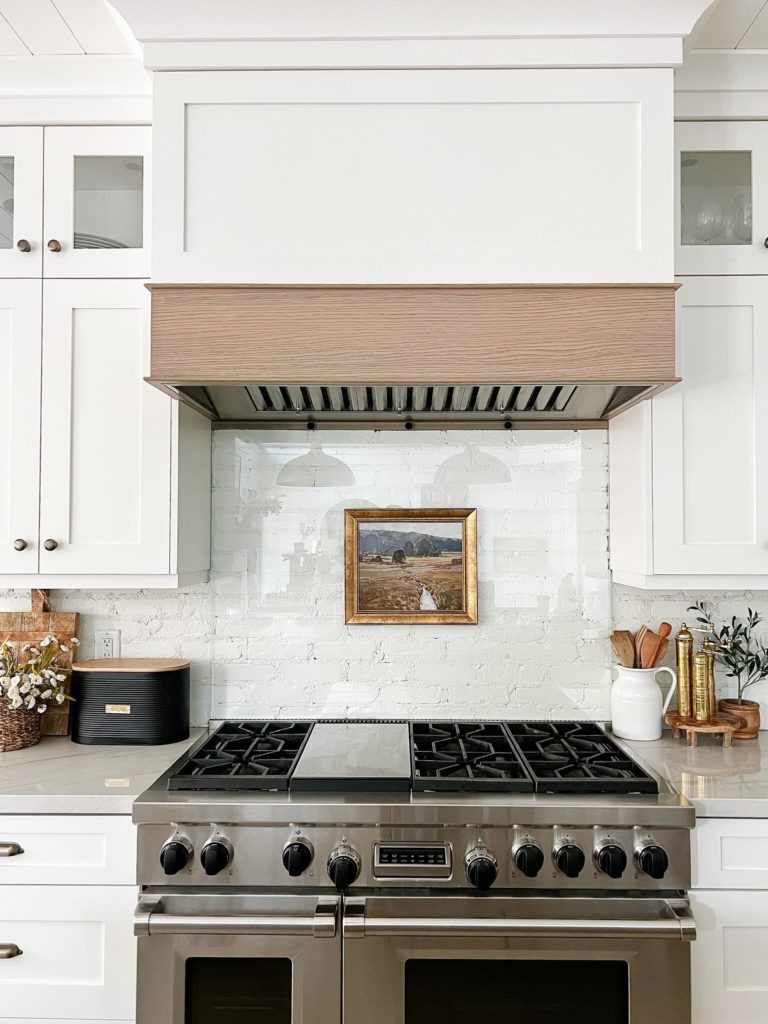
Our tempered glass kitchen backsplash turned out beautifully!! I now have peace of mind knowing the old-world charm of my painted brick will continue looking as good as new no matter what’s simmering on the stove!
I hope my do’s and don’ts of tempered kitchen backsplash inspire you to think outside the box when taking on your next kitchen project!
For more kitchen inspiration check out my Design Hack to Keep Your Kitchen Cleaner and Your Guide to Kitchen Island Lighting blog posts!
Would you try a tempered glass backsplash? Let me know below in the comments!


