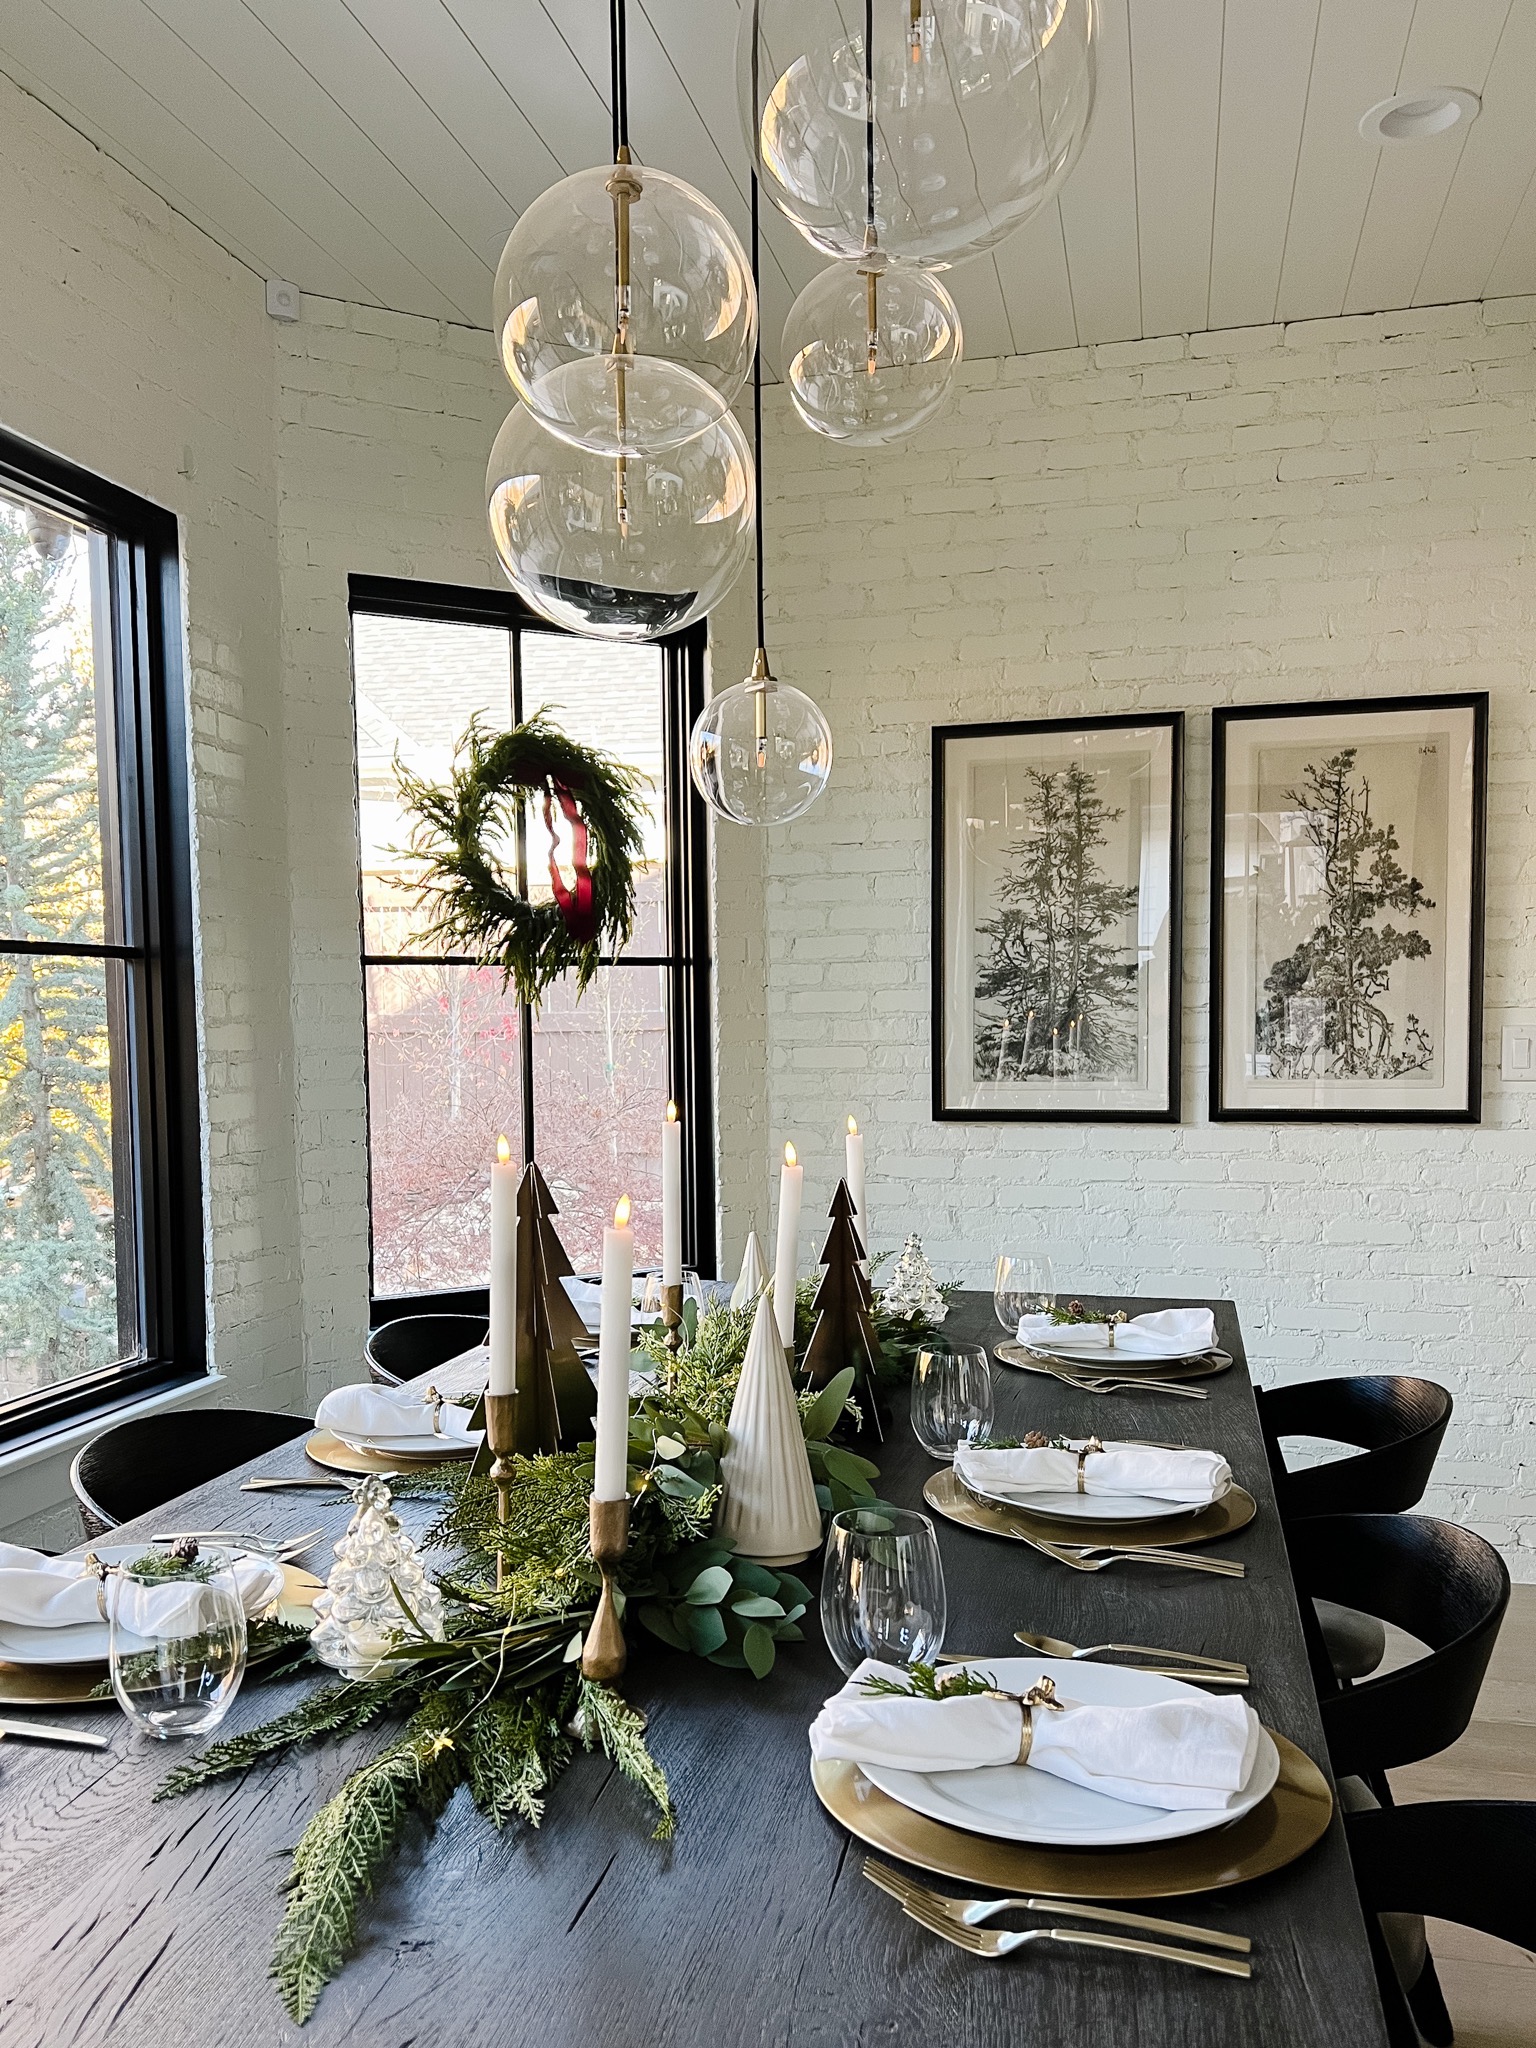
A holiday tablescape is a beautiful way to jazz up your dining room space. Whether you’re hosting a party or just want to add festive decor to your table, I’m sharing how to create a holiday tablescape using all faux stems and garland. This look is simple, elegant and, best of all, easy to recreate.
If you’re interested in creating a floral arrangement centerpiece for the holidays, you’ll love this post HERE.
How to Create a Holiday Tablescape

Styling the Centerpiece
I posted the above photo on Instagram recently, and many of you thought these stems were real. Faux florals have come a long way the last few years, and look so realistic. The smell of fresh greenery is irreplaceable, but I don’t love the mess of real stems, coupled with the fact that they don’t last very long. So depending on when you like to decorate, real stems might not even make it to Christmas. Faux are also more cost-effective because you buy once, and use them year after year. I think high-quality greenery is worth investing in because greenery isn’t trendy, and won’t go out of style.
Here’s a step-by-step tutorial for the centerpiece:
- Start with a faux eucalyptus garland. I like one that features seeds to give the look even more texture.
- Add in greenery stems, starting on the outside and working your way to the center. The trick is to hide the bottom of the stems along the way. I used three different greenery stems to add texture and interest, and alternated the different types. This creates more fullness in the center of the garland. So the center garland includes: (1) eucalyptus garland, (4) pine stems, (4) other pine stems, (2) eucalyptus stems.
- I added five candlestick holders in two different heights along the garland. They can be found HERE and HERE. Then, I added these convenient flameless, battery-operated candles to them. They look very realistic and have fantastic reviews.
- Then, I added three different types of Christmas trees: glass, ceramic and metal.
- I finished the centerpiece with fairy lights to add a festive ambience to the look, which are also battery-operated.
Shop Centerpiece
Arranging the Dinnerware

Once your centerpiece is finished, arrange your dinnerware setup. You can opt to keep the table set as part of your decor on your dining room table. Or you can simply set it up when you have guests over. That’s up to you and what you prefer.
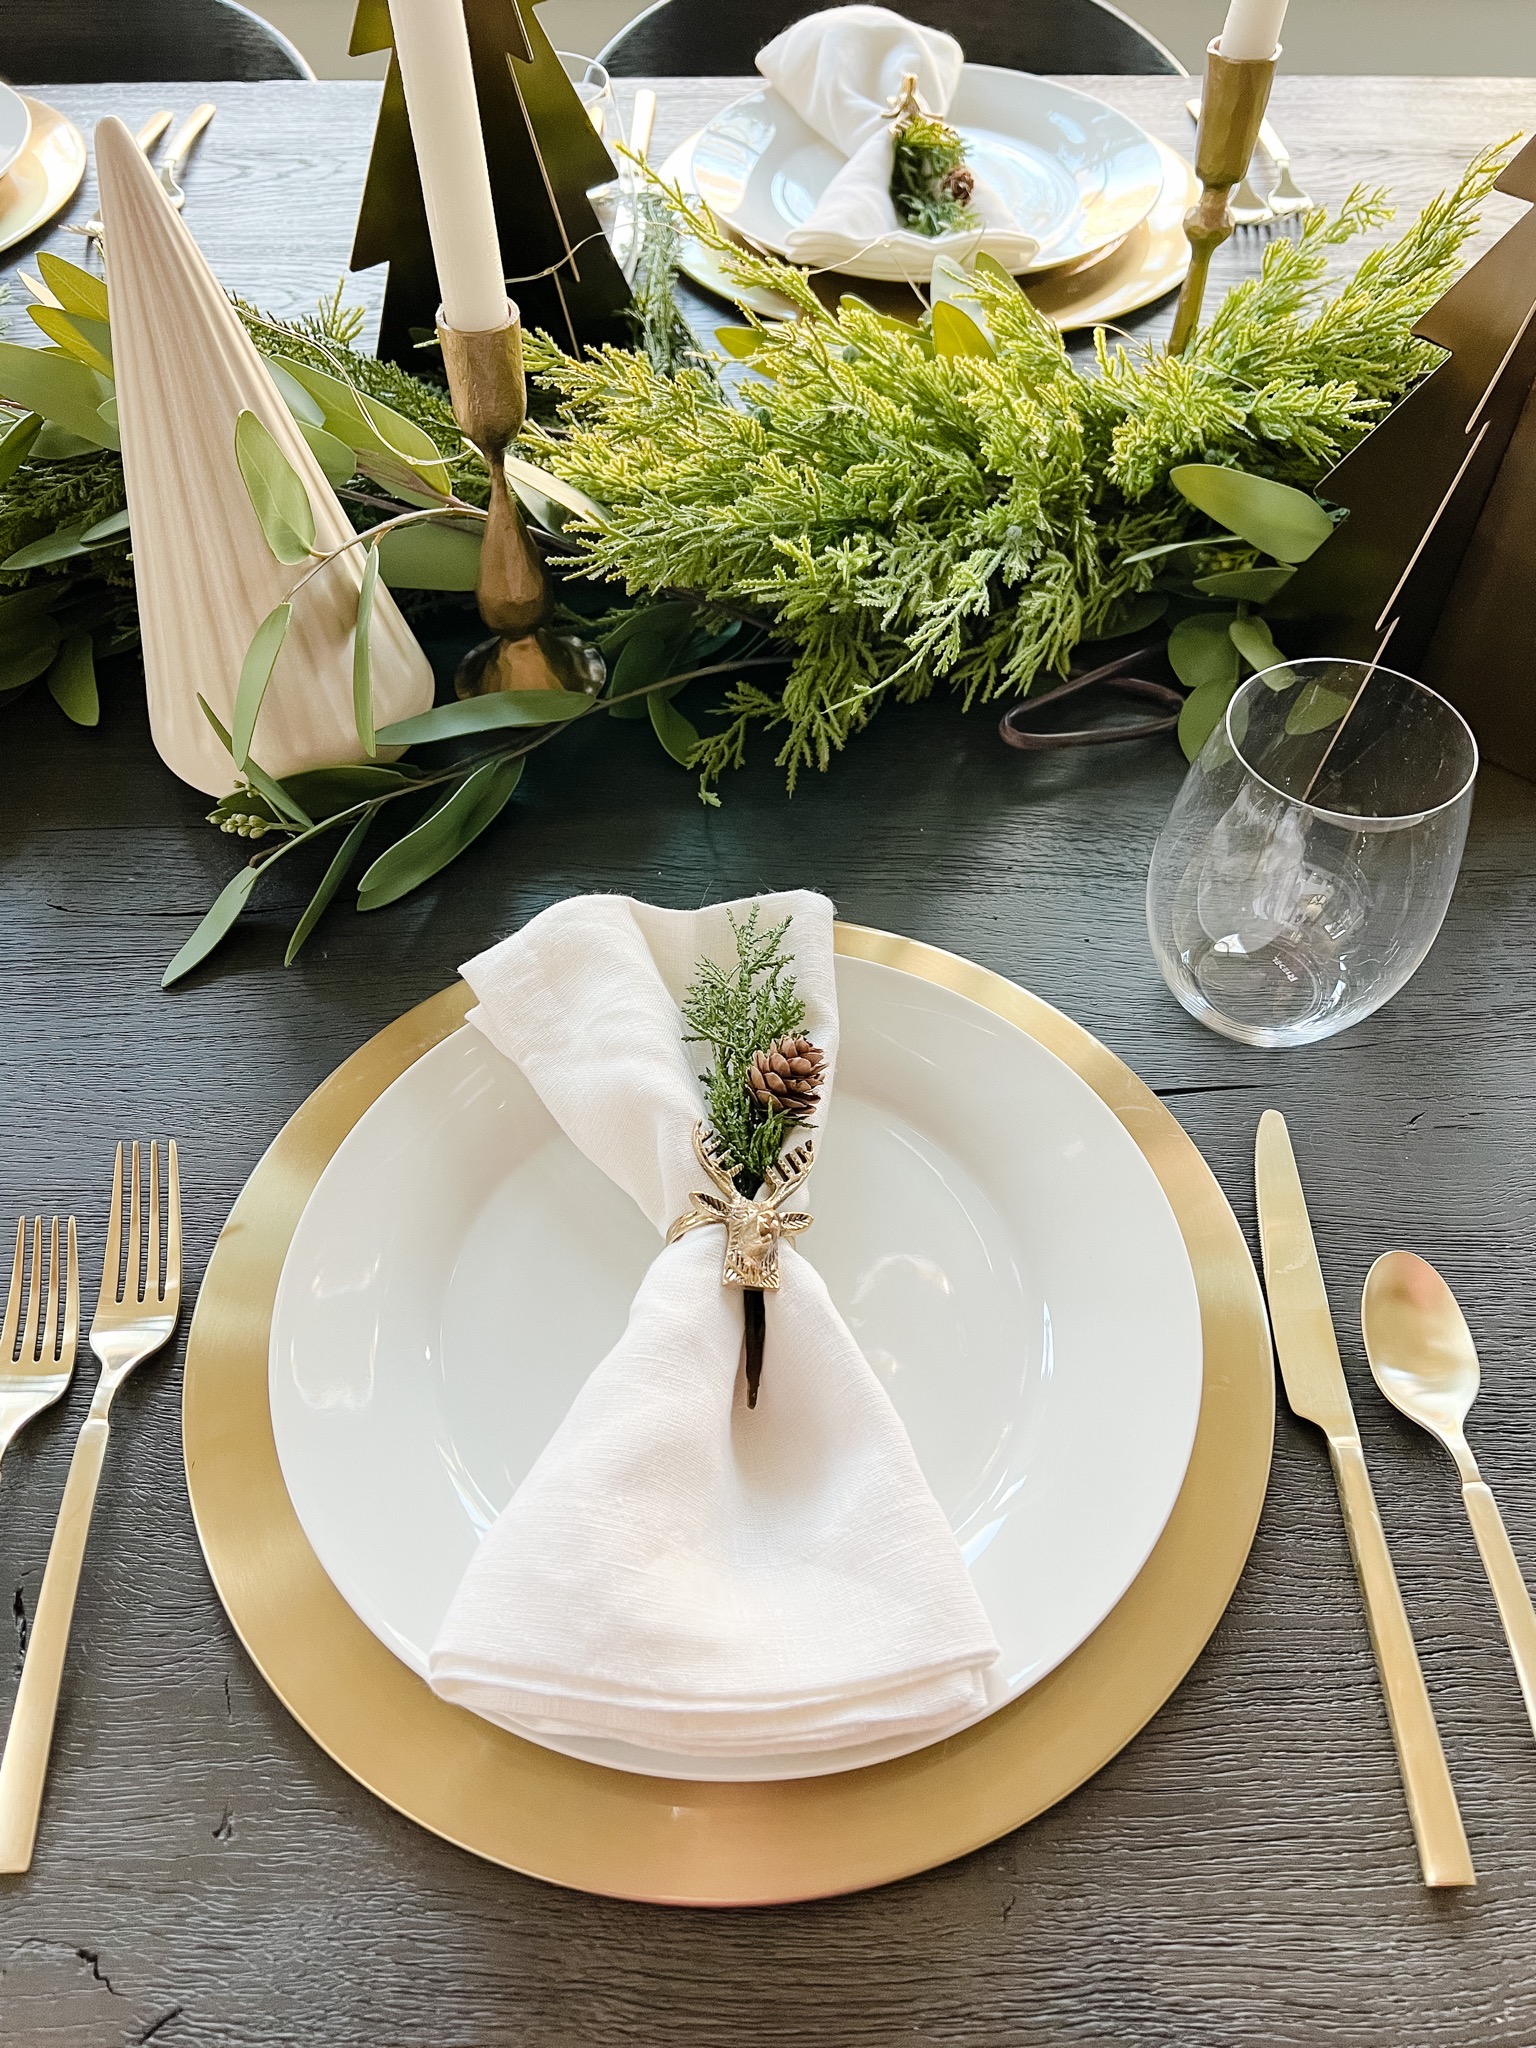
I started with brass chargers, and like that they tie in with the brass candlesticks. Chargers are an elegant way to add color to a table. Then, I used timeless white dinner plates on top of the gold chargers. Then, I added in onyx black salad plates. I finished the look with a linen-blend napkin and a brass napkin holder. To see how I folded the napkin pictured above into a bow, see this Instagram reel HERE.
I opted to use brass flatware for the tablescape to tie in with the chargers and candlesticks. The stemless wine glasses are placed at each table setting, and you can also opt to put goblet-style water glasses on the table too.

Here’s another way to arrange your napkin on each of the plates. In this photo, I opted not to use the black salad plate. I love the festive reindeer napkin holders, and placed the napkin vertically onto the plate. Then, you can add a real or faux pine stem to finish the look.
Shop Dinnerware Essentials
Do you prefer to keep your dinnerware out throughout the season or just when guests come over? Let me know in the comments below!
Shop the Post


